
Generating and Viewing Course Reports
On the Main Menu that you see after logging in, you will see an option to generate course reports. Once you click on that, you will see a list of all the courses that you are listed as an instructor for. You have the option to generate reports for each of those courses.
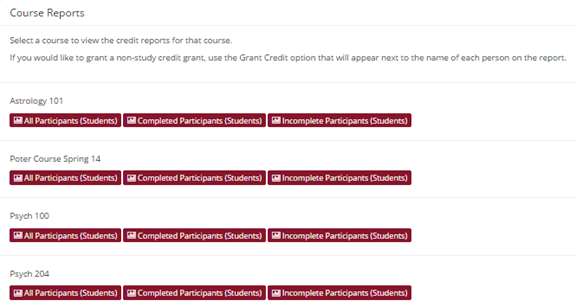
You have three choices for the type of report you would like to generate. All Participants will list all the participants that are in the course. Completed Participants will list only the participants who have met or exceeded their credit requirements. Incomplete Participants will list only the participants who have not met their credit requirements. Click the link for the desired report.
The report will be listed in alphabetical order by participants’ last name. Participants that have not completed their requirements will be highlighted in bold. For privacy and ethics reasons, you will never see exactly which studies the students participated in. You will only see a summary of their credit earnings. If for some reason this information is needed, the administrator can produce such a report for you using the Course Credit History report available to them.
If your system is configured as such, you will see a credit status for the participant overall, as well as for the listed course. If this is the case, you should look at a participant’s credit for the course to determine if they have completed their requirements. If you do not see such a column (“Credits Earned for Course”), then you only need to be concerned with the overall credit completion status for the participant. If the report is too wide to be printed easily, you can use the Printer-Friendly format. A link to that will appear at the bottom of the report.
The report also includes a column indicating the Overall Unexcused No-Shows a participant has accrued. If you have a policy whereby you give some type of bonus for participants who do not accrue any unexcused no-shows, then use this column to determine which participants fit into that category (look for values of 0).
The Login Days column shows the number of unique days a participant logged in. For example, if they logged in three times on the same day, this will count as 1, but if they logged in once a day on two different days, this will count as 2. This can be an indicator of how often the participant used the system to check for studies.
If you would prefer to deal with the information in CSV (comma-separated) format, for easy import into a spreadsheet program like Excel, use the CSV link at the bottom of the report to generate such a data file. If you have a problem working with the CSV format file, please contact your IT department for assistance. CSV is a standard data format and they are quite familiar with it.
To generate a new report, choose the Main Menu link from the left toolbar and proceed from there.